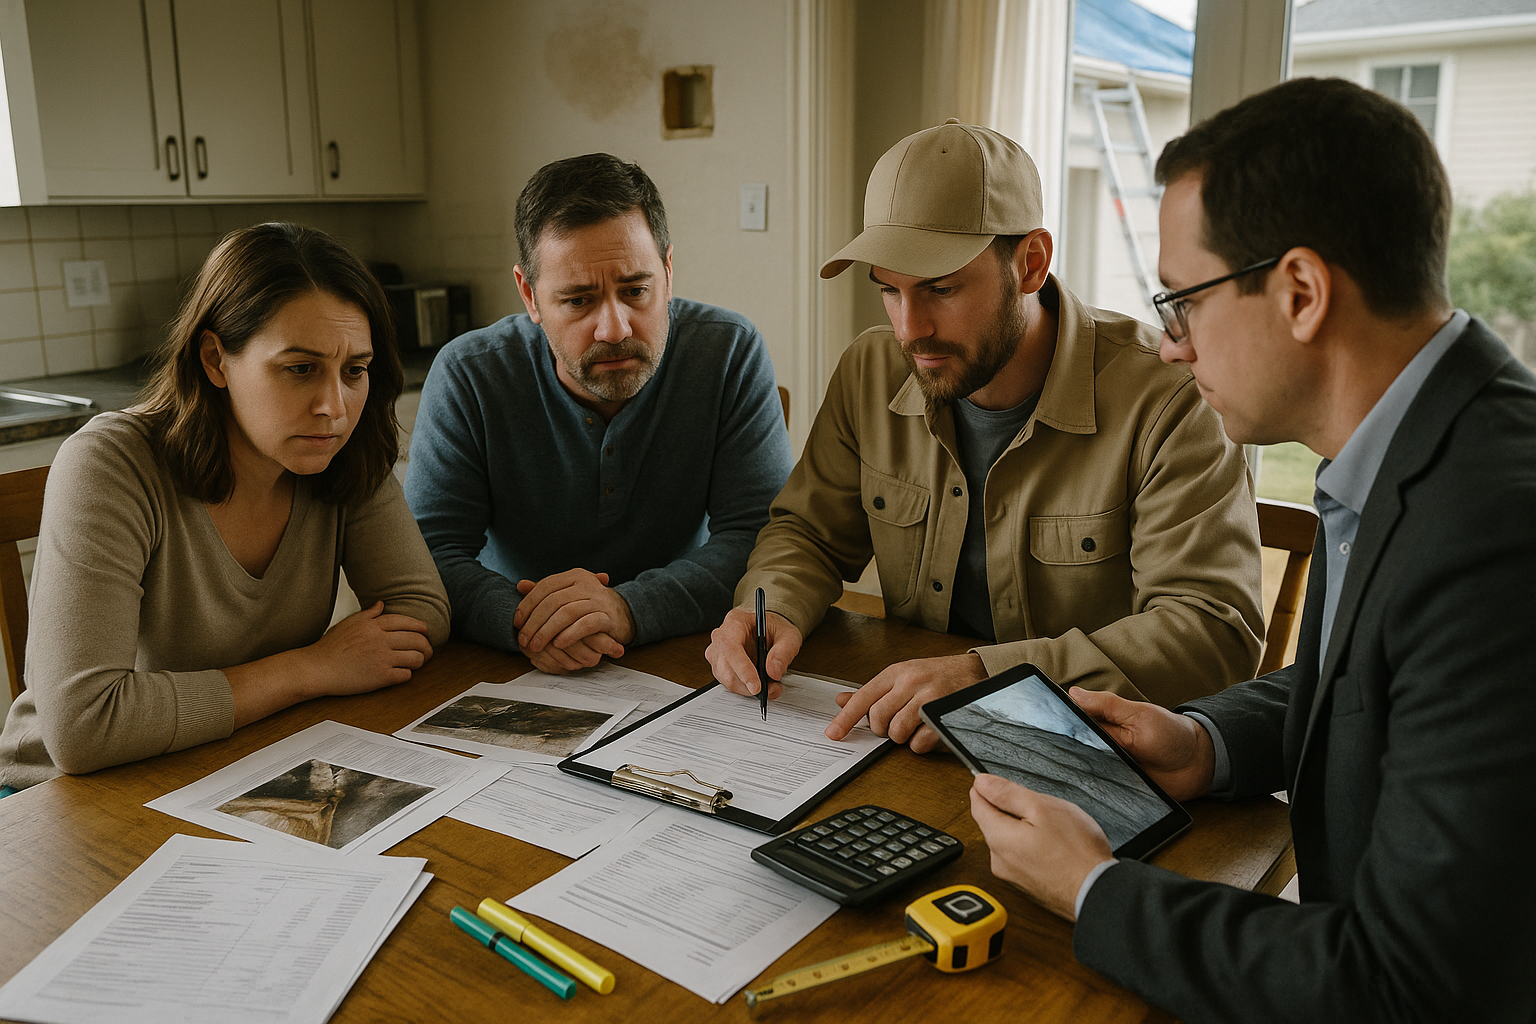
Think Your Home Insurance Payout Is Short? Spot the Red Flags Fast
If your insurance settlement feels lower than it should be, you are not alone. After a storm, leak, fire, or other loss, many homeowners are surprised to find that the paid amount doesn’t fully cover repairs. The good news: there are clear steps you can take to review your estimate, identify what may be missing, and ask for a fair reassessment—without turning it into a confrontation.
Why home insurance settlements often come in lower than expected
Insurers rely on adjusters, estimating software, and policy rules to price your loss. That system can miss important costs. Common reasons for a low payout include:
- Scope gaps: Not every damaged item made it onto the estimate (flashing, underlayment, trim, insulation, baseboards, or contents).
- Pricing mismatches: Labor and material costs in your area may have risen faster than the software was updated.
- Waste, haul-off, or setup not included: Repairs often require tear-out, debris removal, and minimum labor charges that aren’t always captured.
- Overhead and profit (O&P): Complex jobs that require multiple trades sometimes justify a general contractor markup that isn’t included by default.
- Code upgrades: Bringing repairs up to current code can add cost. This may be covered if you have Ordinance or Law coverage.
- Depreciation misunderstandings: If your policy pays Actual Cash Value (ACV) first, you may be owed additional Recoverable Depreciation after work is completed.
- Deductible and sublimits: A large deductible or category-specific limits (like mold, detached structures, or ALE/loss of use) reduce payouts.
- Mitigation and emergency services: Dry-out, tarping, or board-up charges aren’t always fully recognized without thorough documentation.
Quick self-check: Is money missing from your estimate?
Before requesting a review, compare the insurer’s estimate to the real scope of work. These checkpoints can help surface gaps:
- Roofing: Does the estimate include drip edge, flashing, vents, step flashing, ice/water shield (where required), ridge cap, starter, felt/underlayment, and proper waste factor? Is steep/pitched or two-story labor correctly applied?
- Exterior: Are detach/reset items (satellite dishes, gutters, downspouts, fascia, window wraps) included? Is painting priced for multiple coats and prep?
- Interior: Are baseboards, door casings, texture matching, drywall repair, insulation, and paint blending accounted for in each room?
- Flooring: Is removal, disposal, and subfloor prep priced? For tile or LVP, is underlayment or moisture barrier included? For carpet, are tack strips and transitions included?
- Plumbing/electrical/HVAC: Are necessary permits, code-required updates, and system testing or balancing included?
- Contents: Are damaged belongings listed with realistic replacement prices, including tax and shipping when applicable?
- Mitigation: Do invoices and logs reflect equipment type and runtime, moisture readings, photos, and daily notes? Are build-back line items separate from mitigation?
- General conditions: Are permits, dumpster/haul-off fees, material delivery, minimum service charges, and sales tax included?
- Contractor oversight: If multiple trades are required, is general contractor overhead and profit justified and included?
For a deeper walkthrough of these checks, see this practical guide on what to do when your insurance settlement seems too low.
How to organize your evidence
The stronger your documentation, the easier it is to make a clear case for a revised settlement. Gather:
- Photos and video: Wide shots and close-ups of all affected areas, including pre-mitigation and post-mitigation views if available.
- Measurements: Room dimensions, linear feet of baseboard, roof squares and pitch, cabinet counts, and window/door sizes.
- Independent estimates: Ask a licensed contractor for a line-item estimate that mirrors the insurer’s format when possible.
- Receipts and invoices: Materials, mitigation, emergency services, temporary housing, and storage.
- Codes and requirements: If a city inspector or contractor cites required upgrades, request the specific code section in writing.
- Policy pages: Declarations page, endorsements (like Ordinance or Law), and any relevant sublimits.
Reading the estimate: ACV, RCV, and depreciation
Many policies pay Actual Cash Value (ACV) first, then release Recoverable Depreciation after repairs are completed, up to Replacement Cost Value (RCV). If you only look at the first check, it may appear far too low. Review:
- Line items: Each repair item should list quantity, unit price, and total.
- Totals: Confirm materials, labor, permits, O&P (if applicable), taxes, and fees.
- Depreciation: Check what’s recoverable versus non-recoverable, and what proof of completion is needed to release it.
- Deductible: Make sure it was applied correctly and only once per claim event.
How to request a fair reassessment
Once you’ve identified gaps and gathered support, a clear, concise request works best:
- Be specific: Reference page/line numbers and explain what’s missing (e.g., “Roof line 42: add drip edge and step flashing to meet local code; see attached contractor estimate and city code note”).
- Attach proof: Photos, contractor estimate, invoices, and any inspection notes.
- Request a reinspection: If the damage is complex or hidden, ask for an on-site reinspection with your contractor present.
- Ask for supervisor review: If you’re not getting traction, politely request a second set of eyes.
- Track everything: Keep emails, dates, call notes, and updated estimates in one folder.
- Stay professional: A solutions-focused tone often gets faster results.
When to bring in outside help
If the gap remains large after your initial review, consider help from pros who deal with estimates daily. A licensed contractor, mitigation company, independent estimator, or a public adjuster can provide detailed scopes, pricing support, and on-site advocacy. Choose providers with strong local references, transparent pricing, and experience with your type of loss.
Timing tips that protect your position
- Notify promptly: Let your insurer know quickly if you find additional damage during repairs.
- Mind policy deadlines: Many policies outline timeframes to submit supplemental estimates or invoices. Check your policy for specifics.
- Document changes: If hidden damage appears during demolition, pause, photograph it, and request approval before proceeding when possible.
- Keep originals: Save original invoices and proof of payment for any reimbursements.
FAQ
- How do I know if my claim was underpaid? If your contractor’s detailed, line-item estimate to complete repairs to pre-loss condition is significantly higher than the insurer’s estimate, and you can show specific missing scope or pricing differences, the claim may be underpaid.
- What is the difference between ACV and RCV? ACV is the depreciated value paid upfront in many policies. RCV is the full replacement cost. If your policy includes RCV, you may recover withheld depreciation after you complete repairs and submit proof.
- Can the insurer change the estimate after payment? Yes. Estimates are often revised as new information is provided. Submitting clear documentation and supplemental estimates is a normal part of the process.
- What if I already deposited the check? Depositing the initial payment typically does not prevent you from requesting a supplement if the estimate missed items. Continue documenting and submit your request with support.
- How long do I have to dispute or supplement? Timeframes vary by policy and state. Review your policy for deadlines related to proof of loss, supplemental payments, and depreciation recovery, and start your request as soon as you identify issues.
- Do I need multiple contractor bids? Not always, but one detailed, credible, line-item estimate that aligns to current local pricing can be persuasive. A second opinion can help if there’s still a large gap.
A simple plan to move forward
- Compare: Line up the insurer’s estimate next to a contractor’s itemized bid and mark differences.
- Document: Capture photos, measurements, code notes, and invoices that support each addition.
- Request: Send a polite, organized supplement request with references to exact line items.
- Reinspect: Ask for a site visit with your contractor if needed.
- Follow up: Keep communication professional, timely, and documented.
You don’t have to navigate this alone. If you want a quick, no-hassle read on where your estimate may be short, you can start here: Check my claim.
With the right documentation and a clear message, many homeowners successfully secure revised settlements that better reflect the true cost to restore their homes. Take it step by step, stay organized, and focus on specific, supportable corrections—small line items can add up to thousands. If you need additional structure as you review your paperwork, this in-depth guide to low insurance settlements walks through the process in more detail.